How to Make a Water Cycle Model
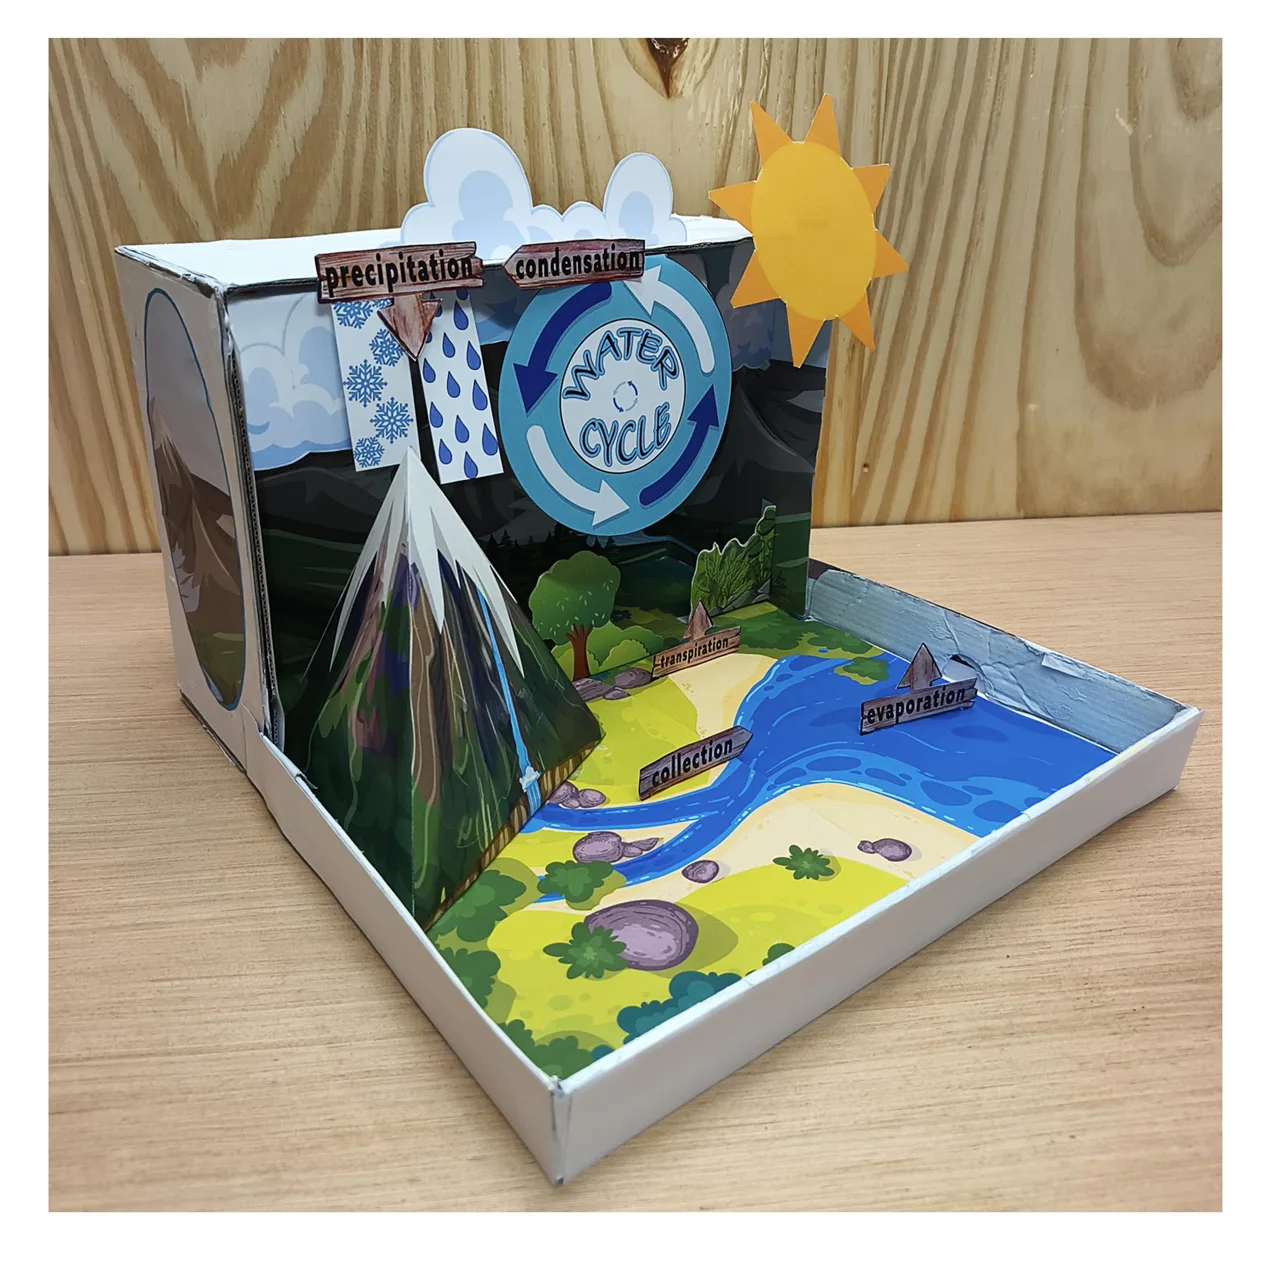
Build a 3D water cycle model in a shoebox with printable scenery, a paper mountain, clouds and English labels. This step-by-step paper craft tutorial shows how the flat sheets become a school project you can explain.
Make it together for a school science project, a homeschool lesson or a creative afternoon at home. Adapt the explanation and level of adult help to the children taking part.
Start building ↓Get the printable PDF
Materials for your water cycle project
- The printed Water Cycle template sheets
- A shoebox or similar cardboard box, with a flat front base as shown
- Paper or light card suitable for your printer
- Scissors, glue, a ruler and a pencil
- Optional scrap cardboard to reinforce the base
Check the print size against your box before assembling. Keep the glue tabs when cutting, use a thin layer of glue and let each section set before adding the next. Younger children may need adult help with cutting and folding.
1. Print and organise the template sheets
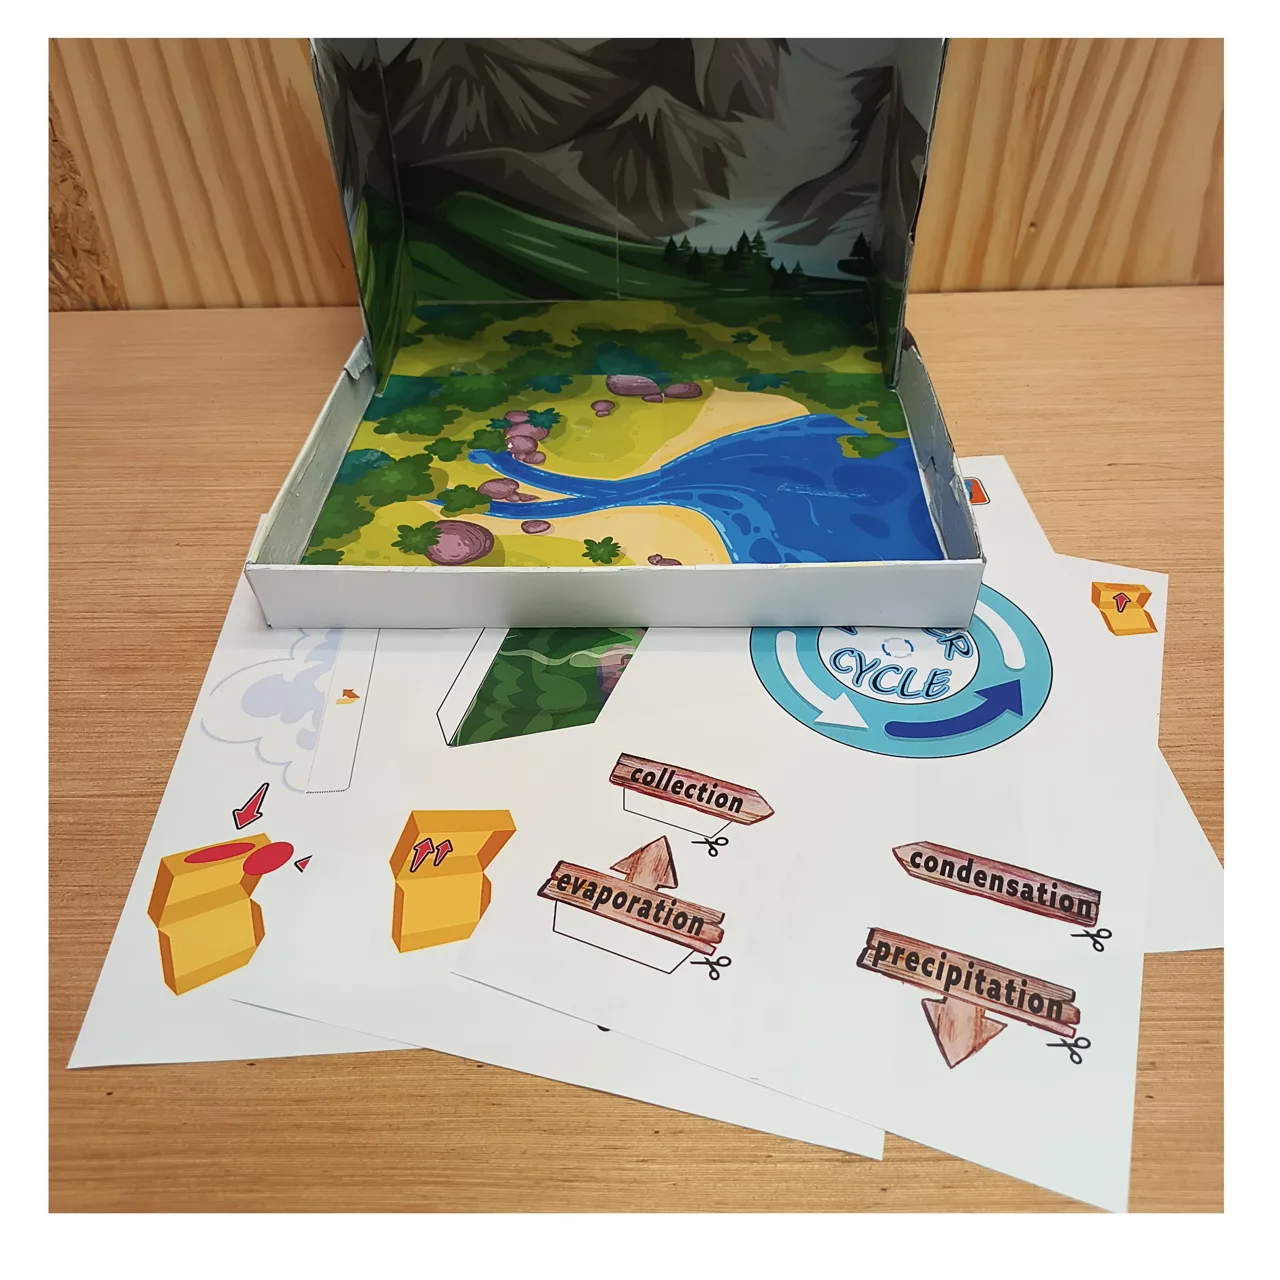
Print the Water Cycle PDF and lay out the sheets before cutting. Keep the background panels, base pieces, scenery and English labels in separate groups. Check how the printed background fits your box before you glue anything.
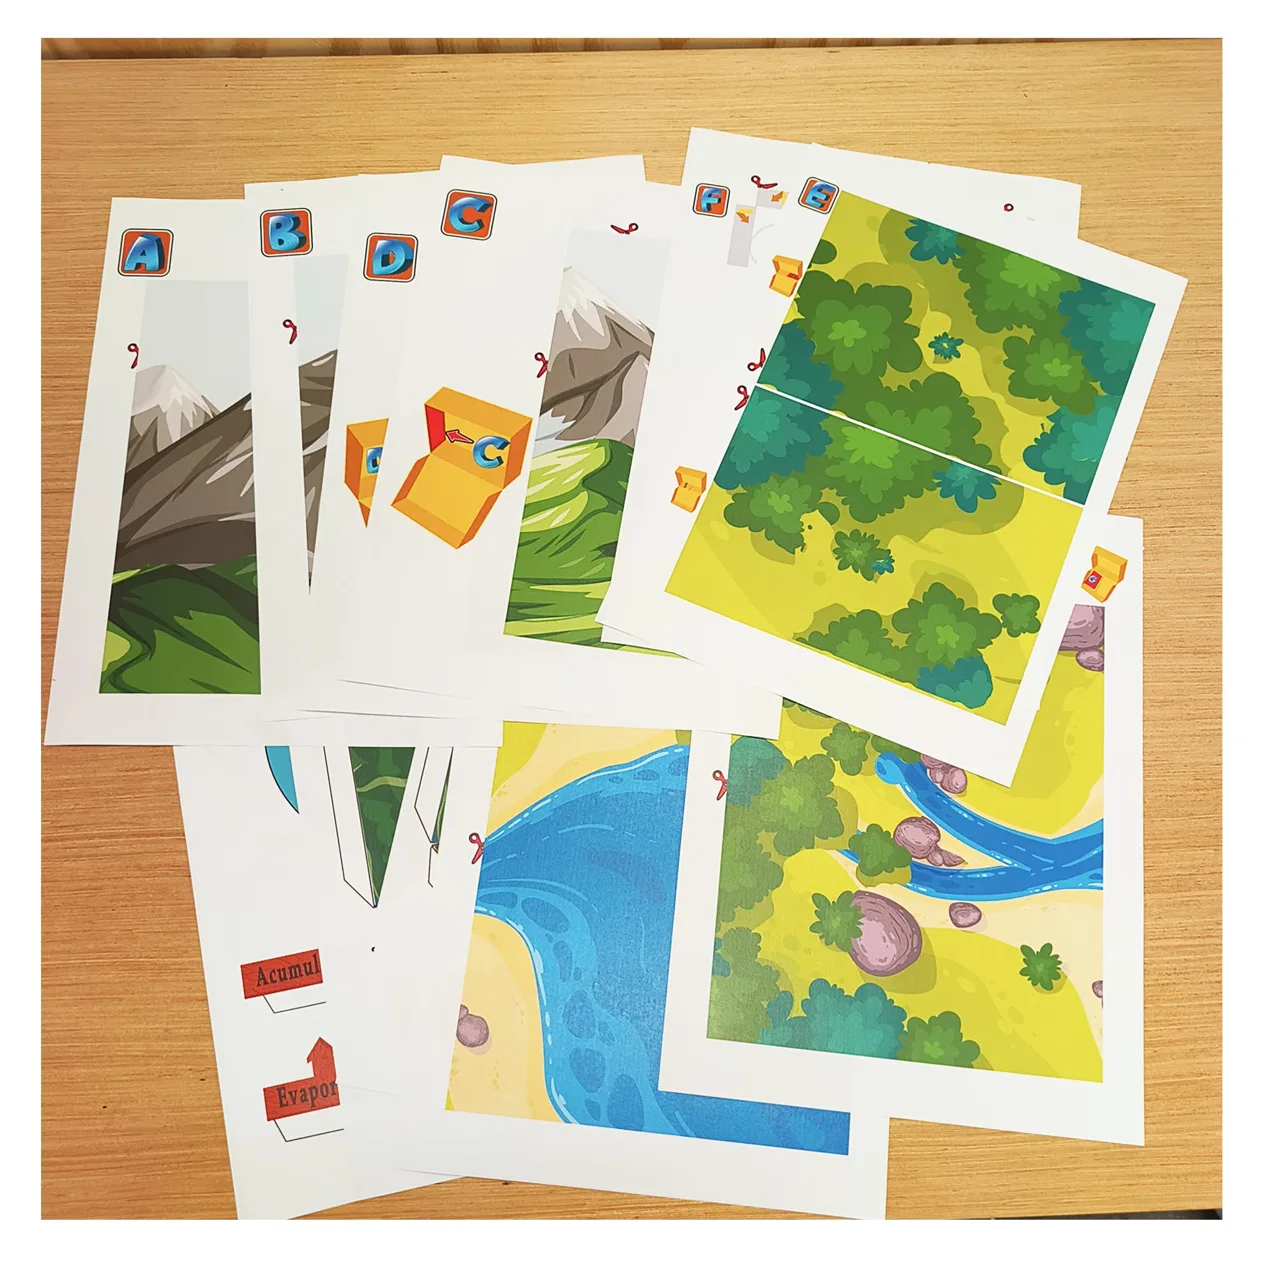
2. Fit the mountain background inside the shoebox
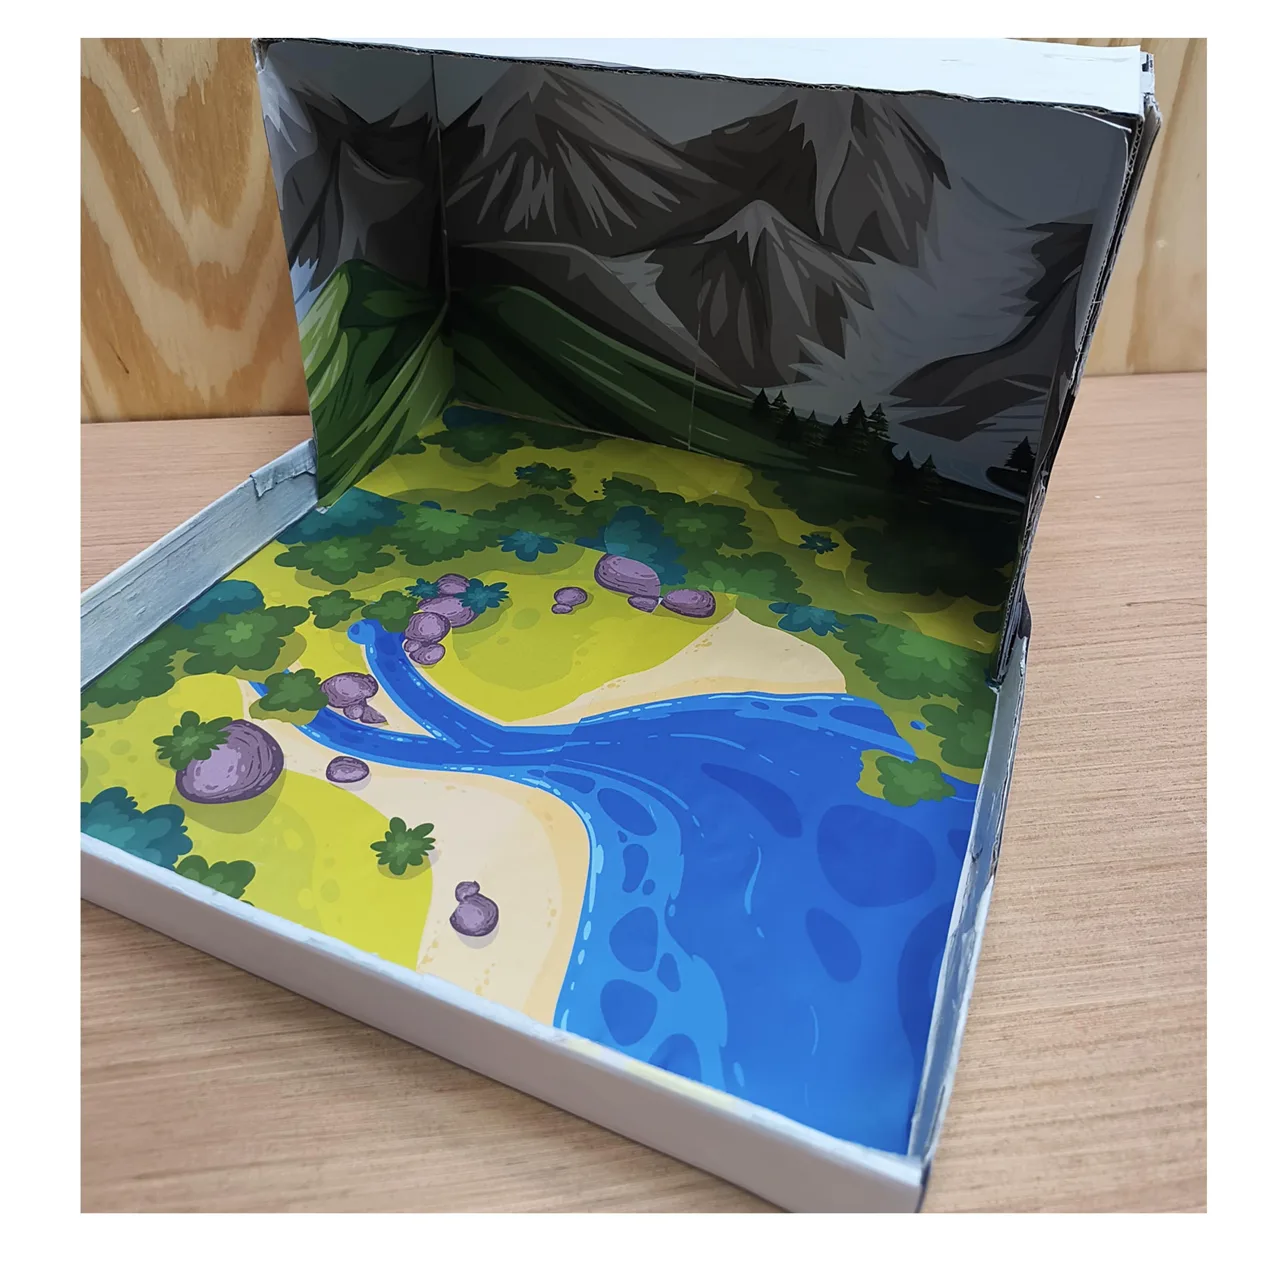
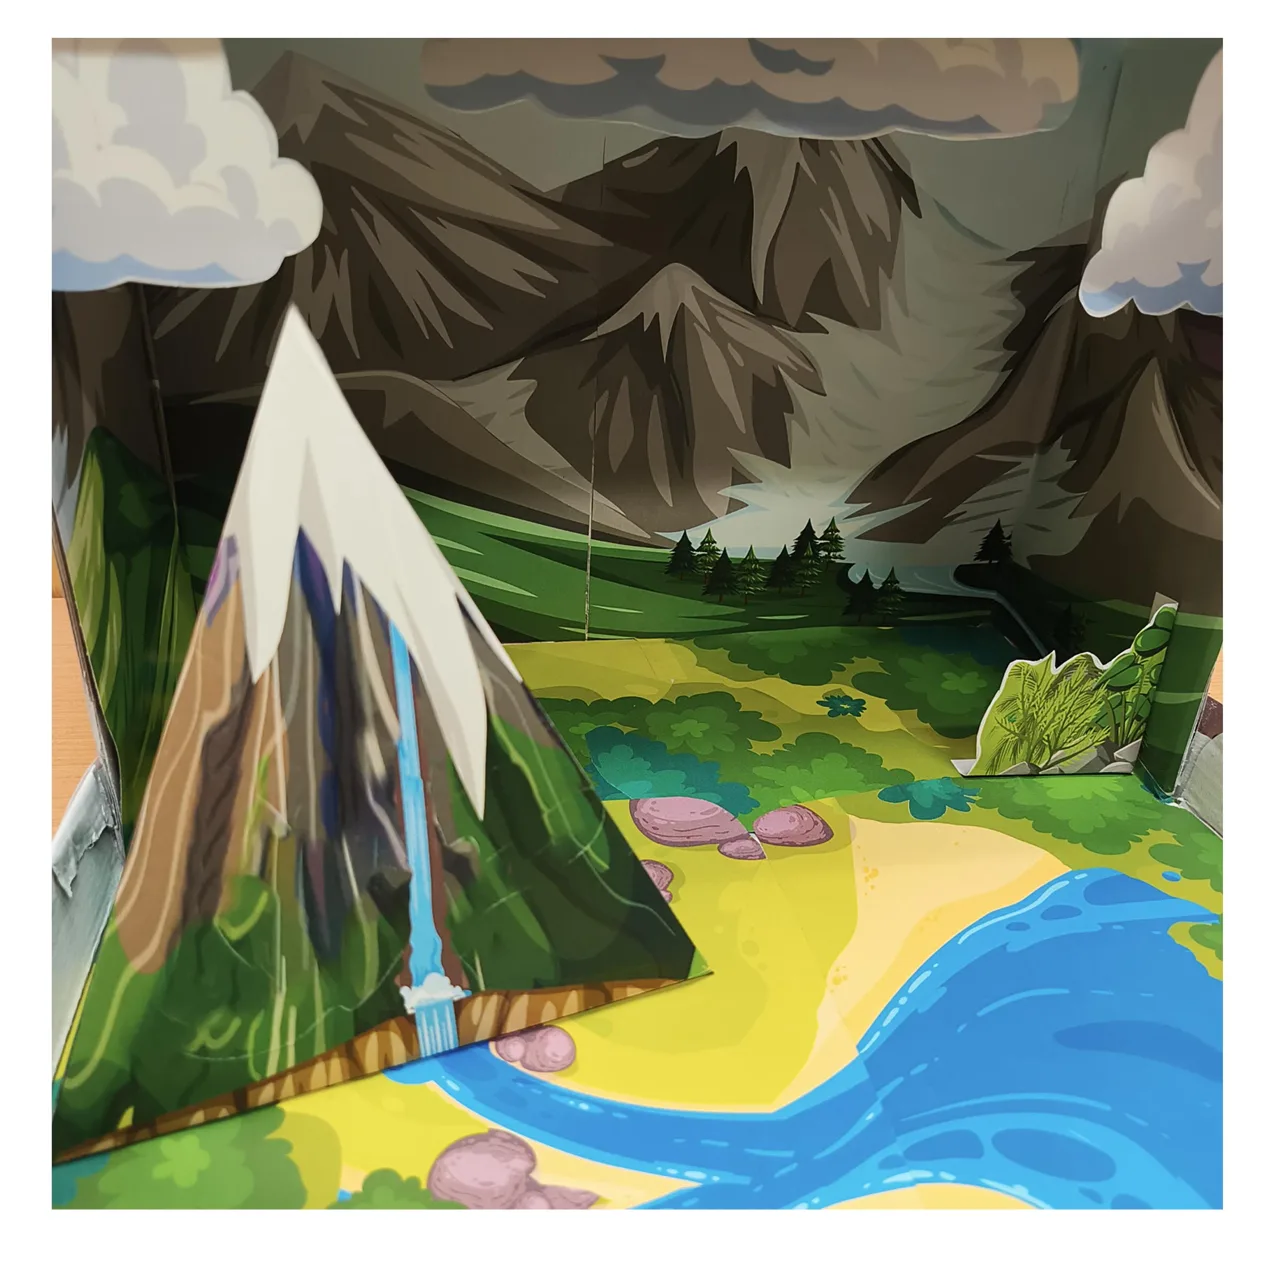
Place the mountain landscape against the back and sides of an open shoebox. Fold the paper where the box corners meet and check that the scenery lines up. Trim only where necessary, then glue the background down and smooth it gently.
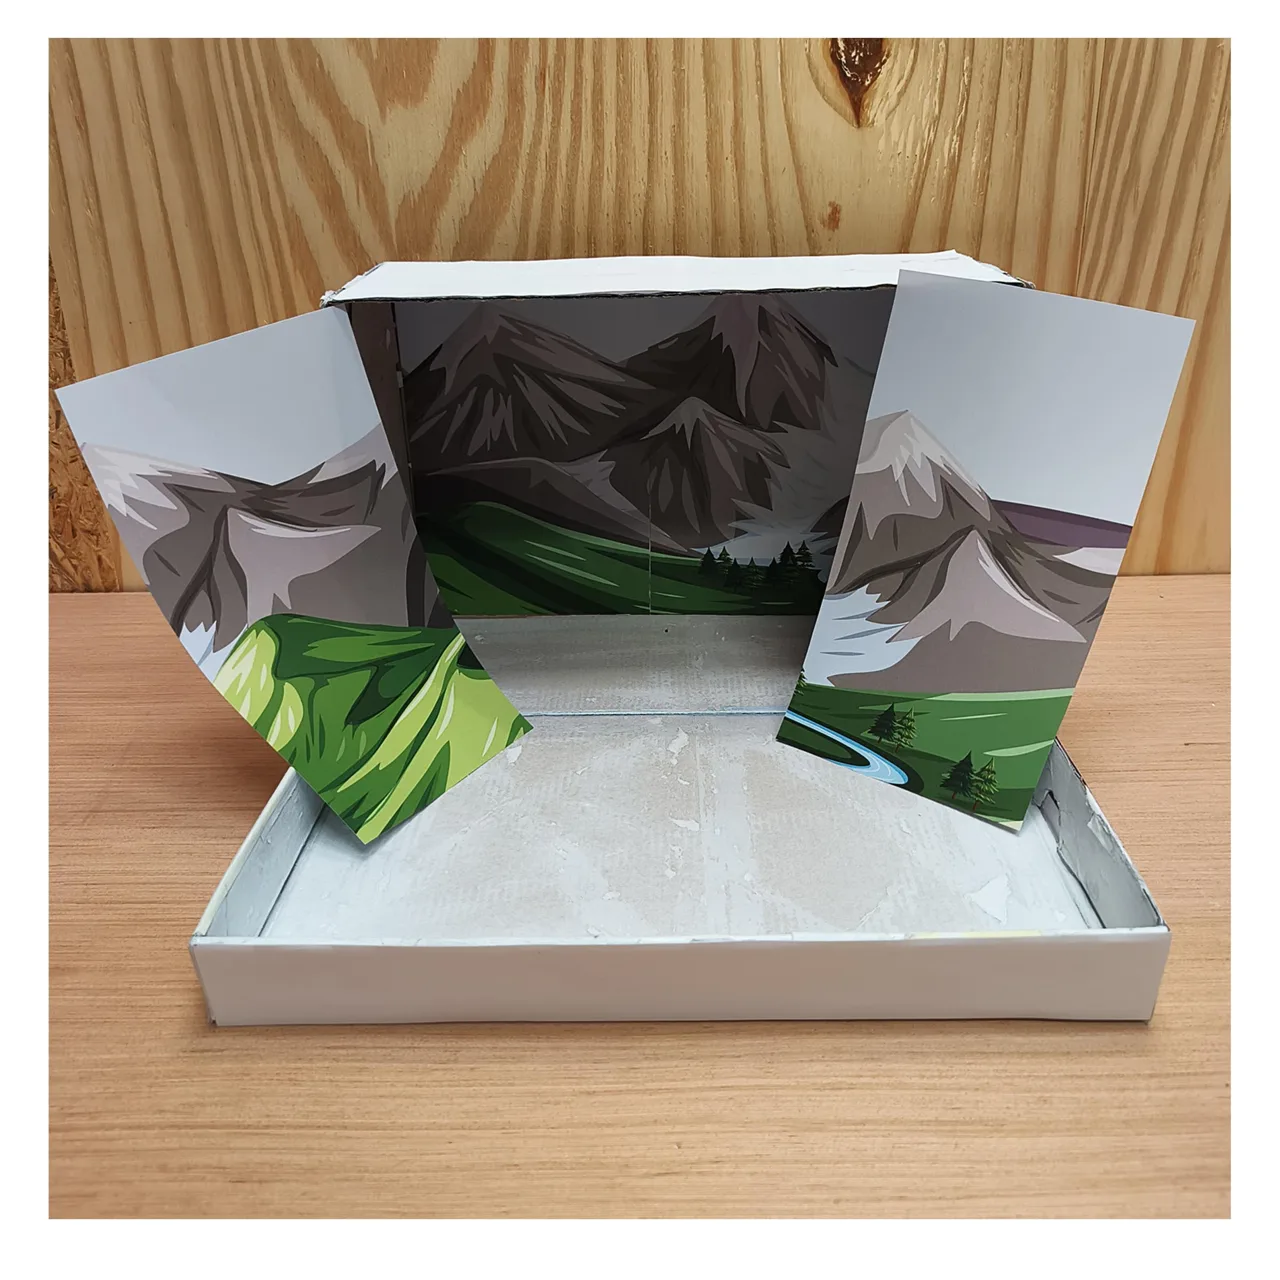
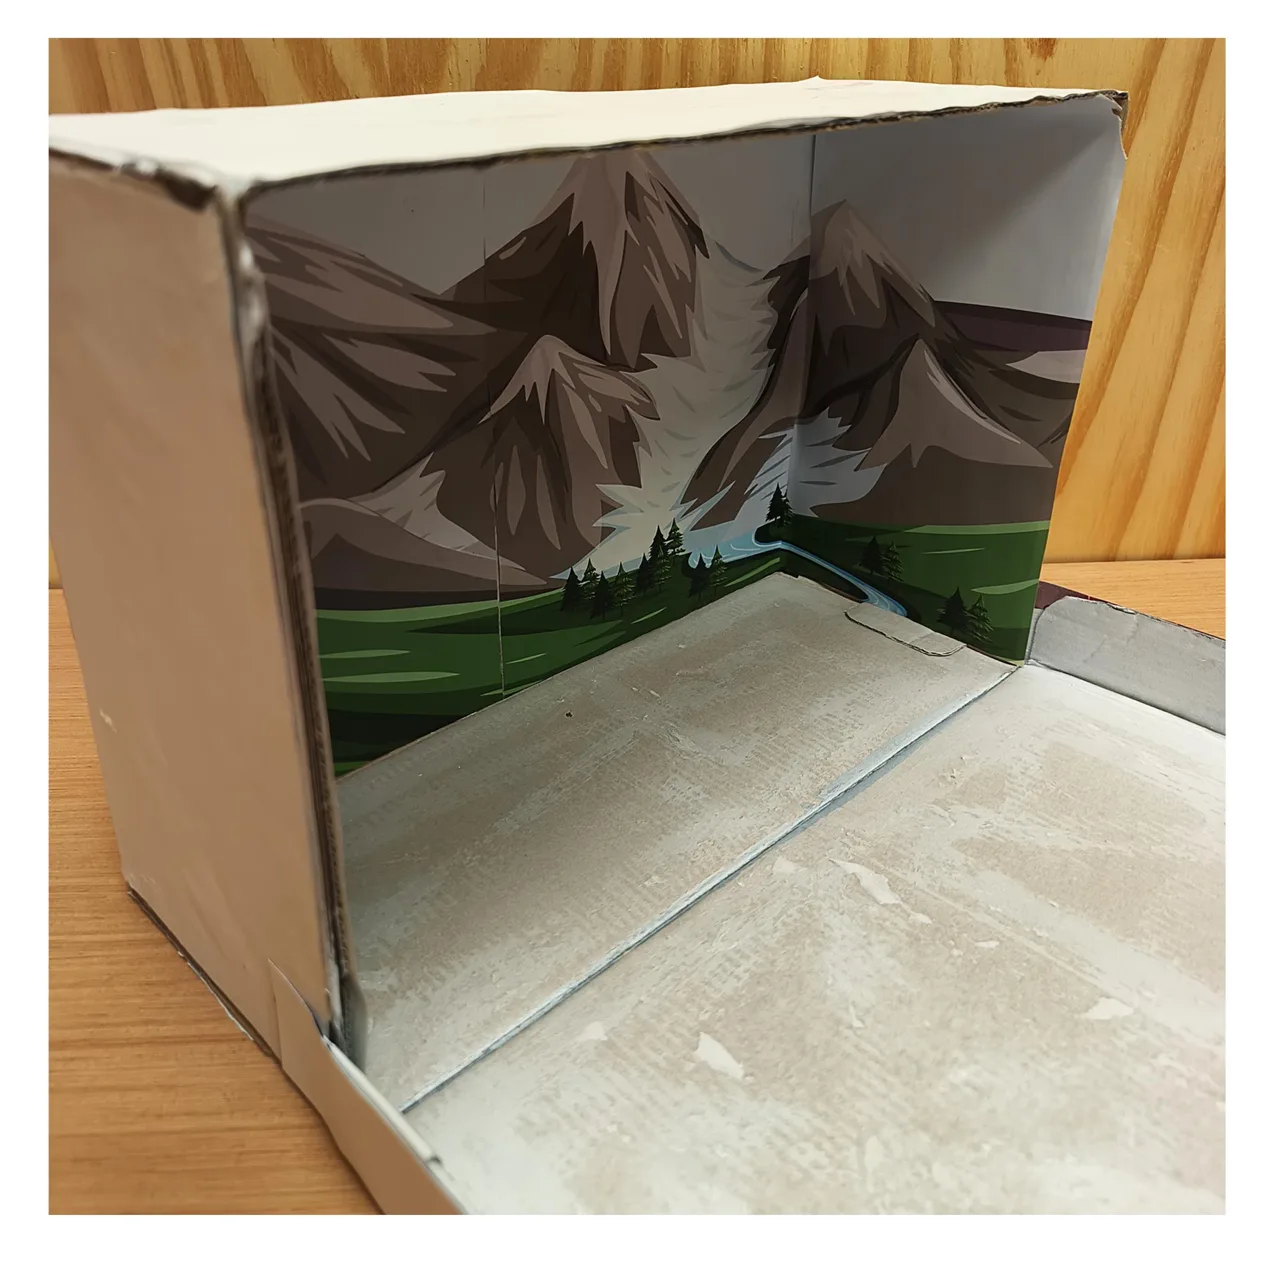
3. Add the river and lake base
Fit the base pieces along the bottom of the box and across the flat front section shown in the photos. Line up the river and water areas before gluing. Support the front section with cardboard if it bends, and let the glue dry before adding upright pieces.
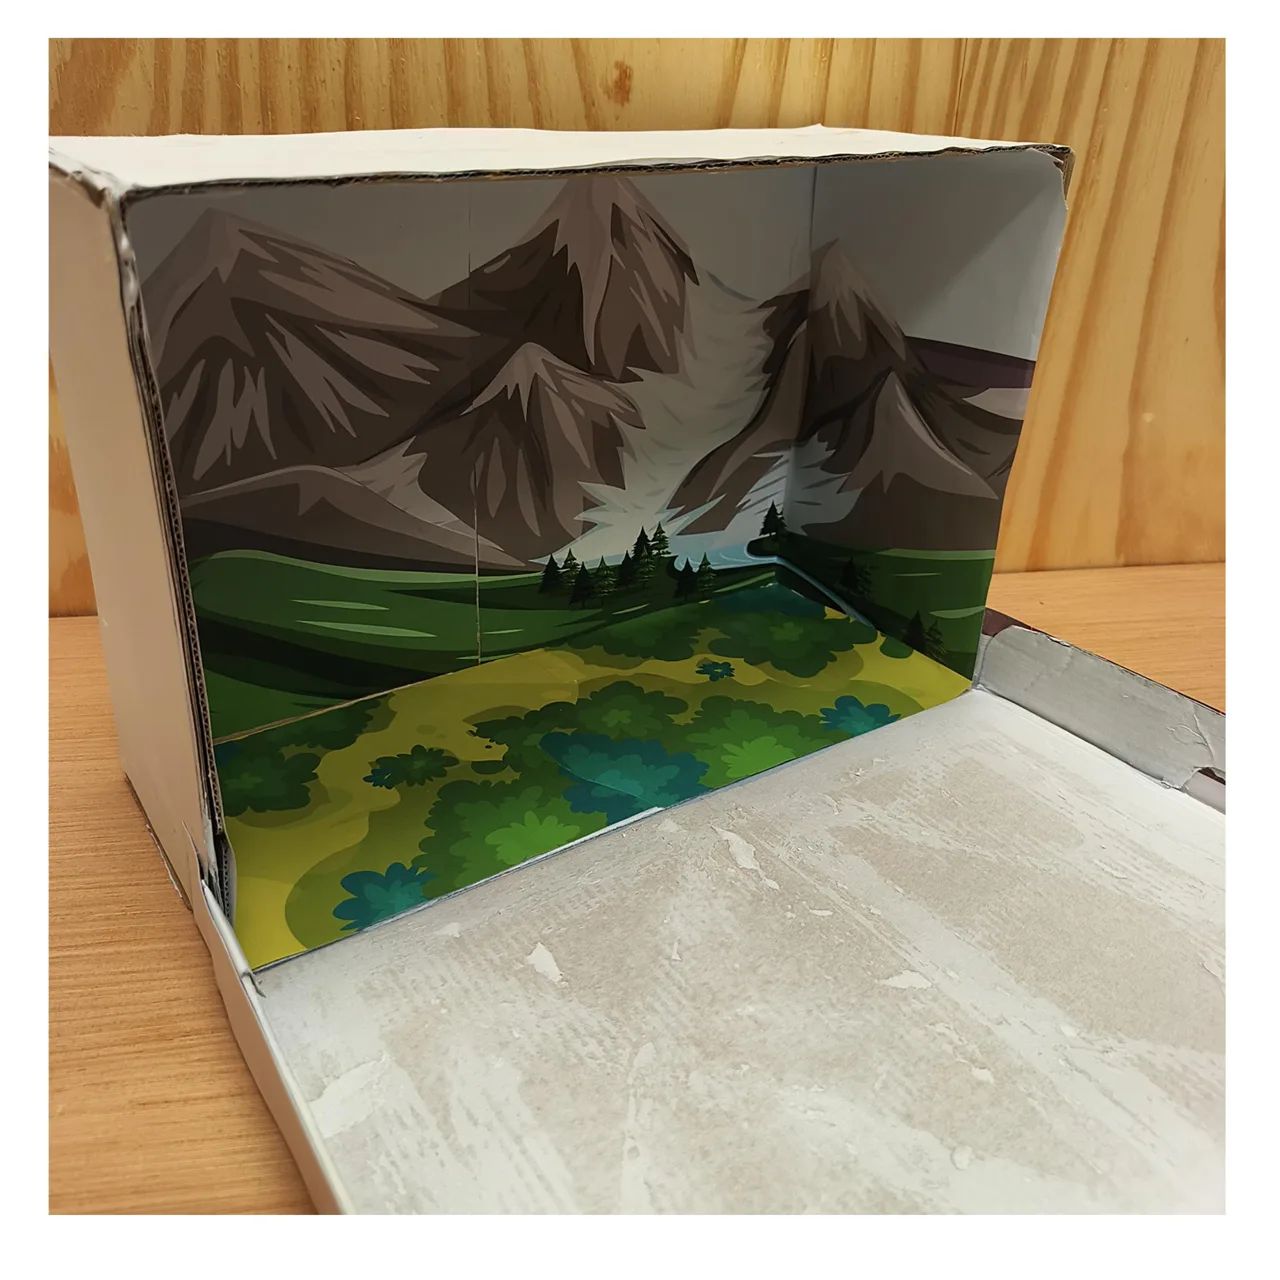
4. Build up the clouds and greenery
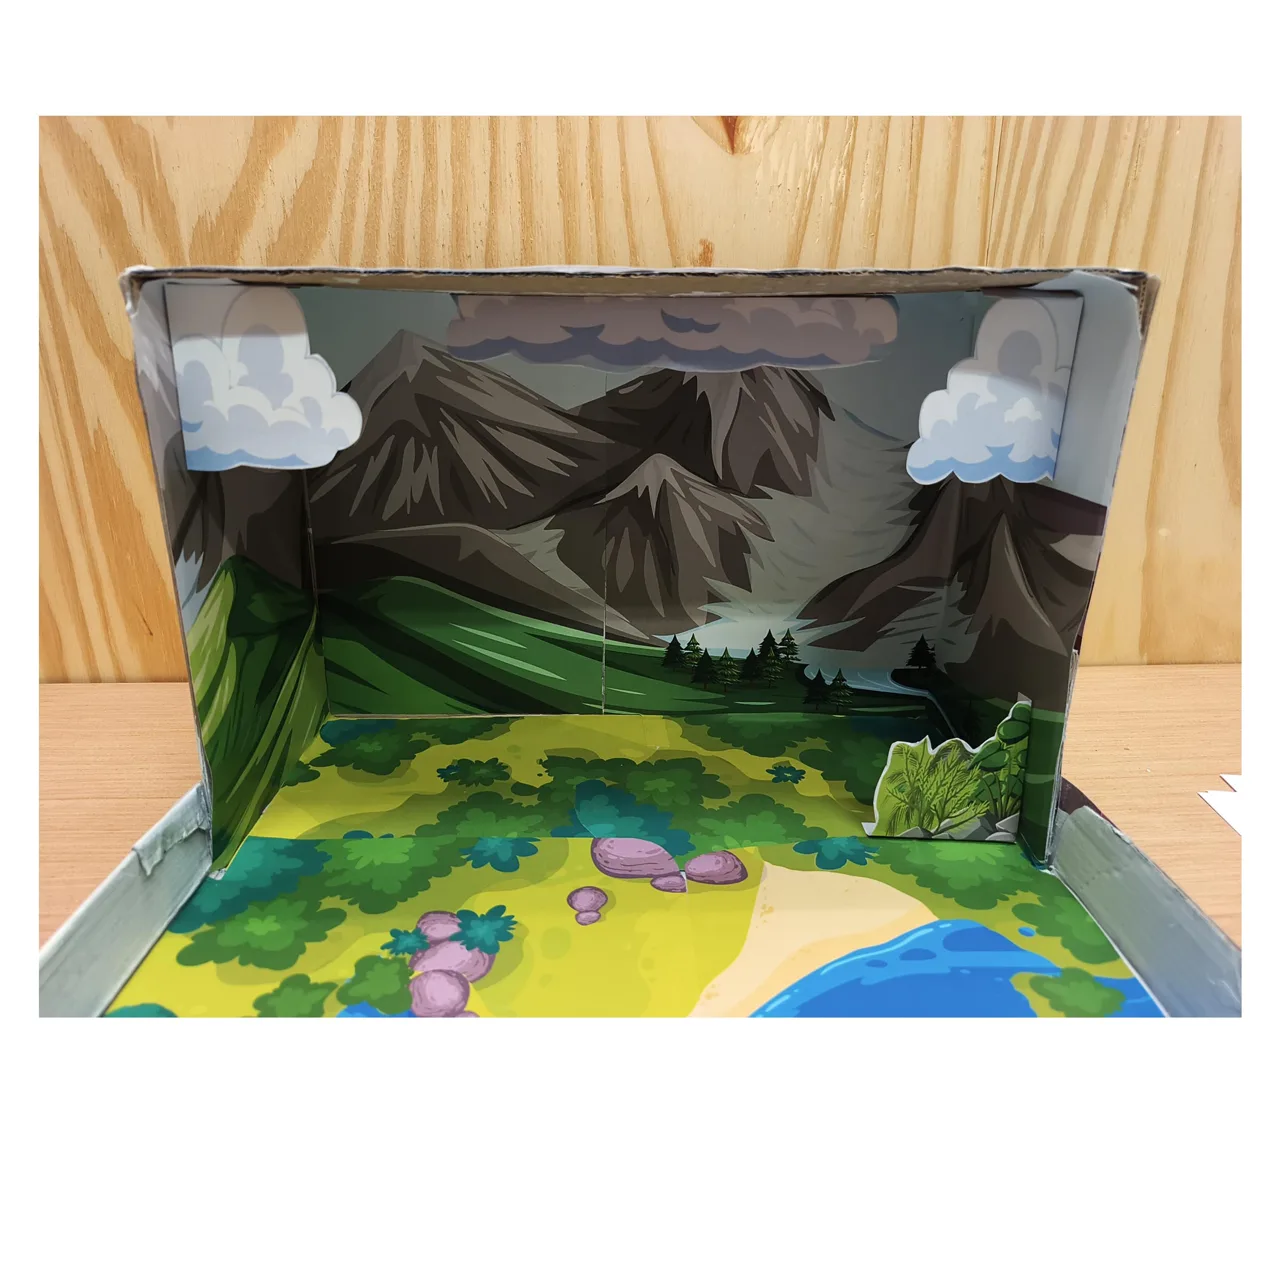
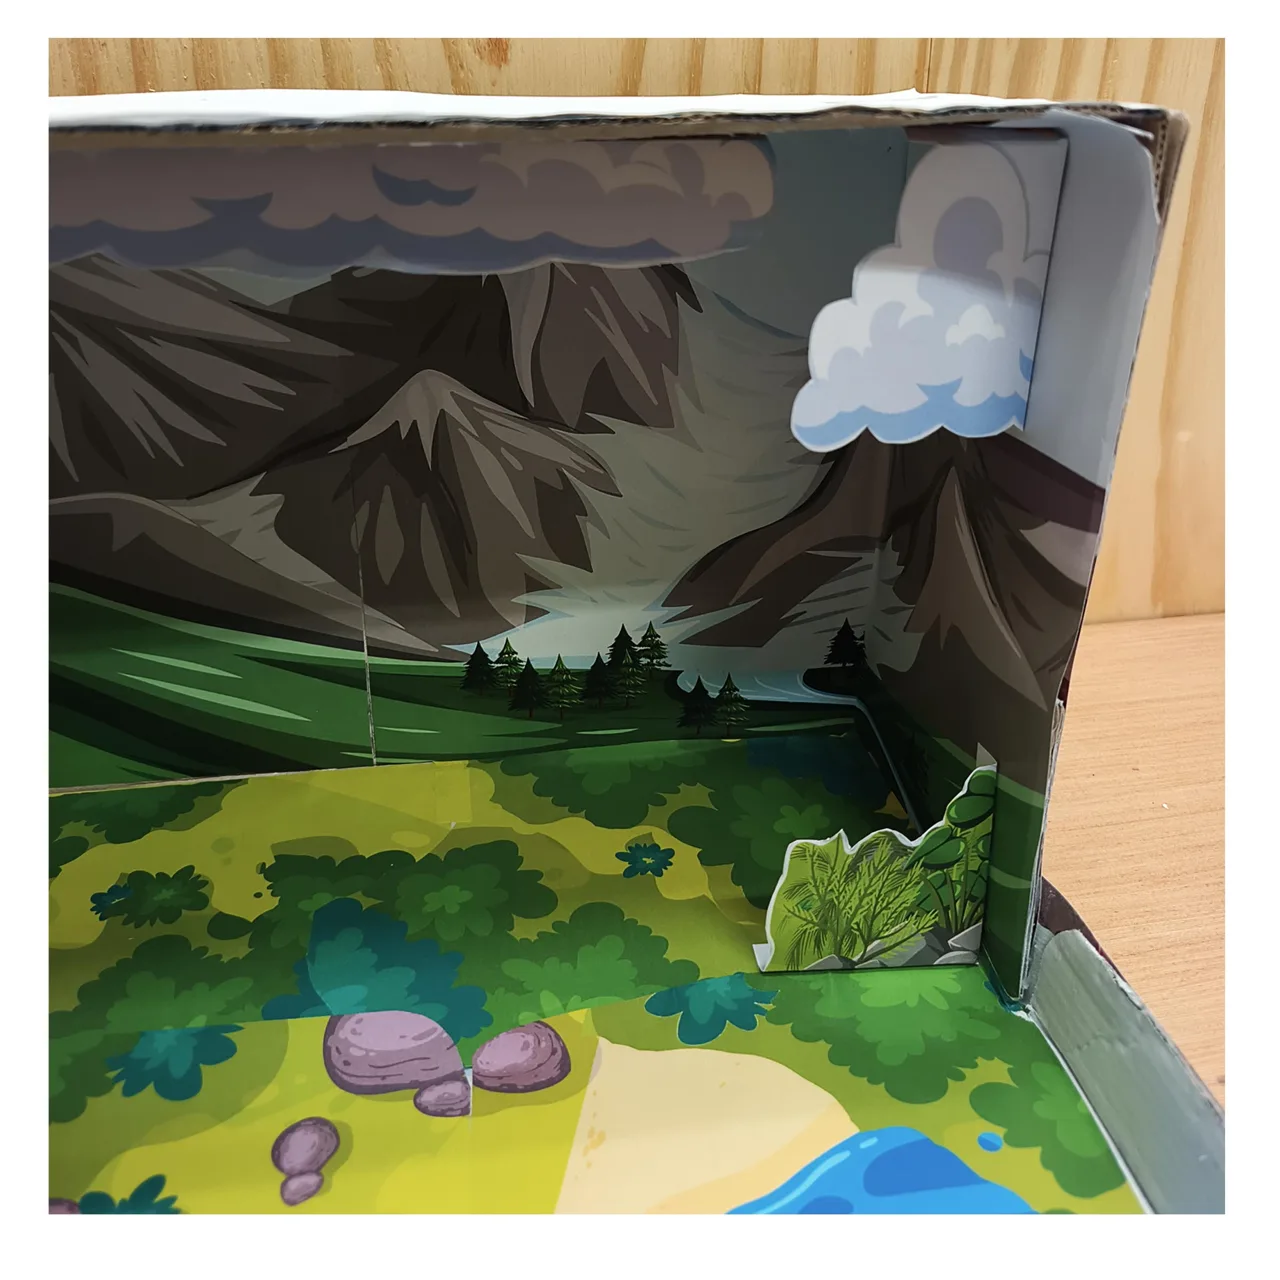
Cut out the clouds and vegetation, keeping any attachment tabs. Arrange them in front of the background to add depth. Leave room for the mountain, sun and water-cycle sign. Fold the tabs before gluing the pieces in place.
5. Fold and assemble the paper mountain
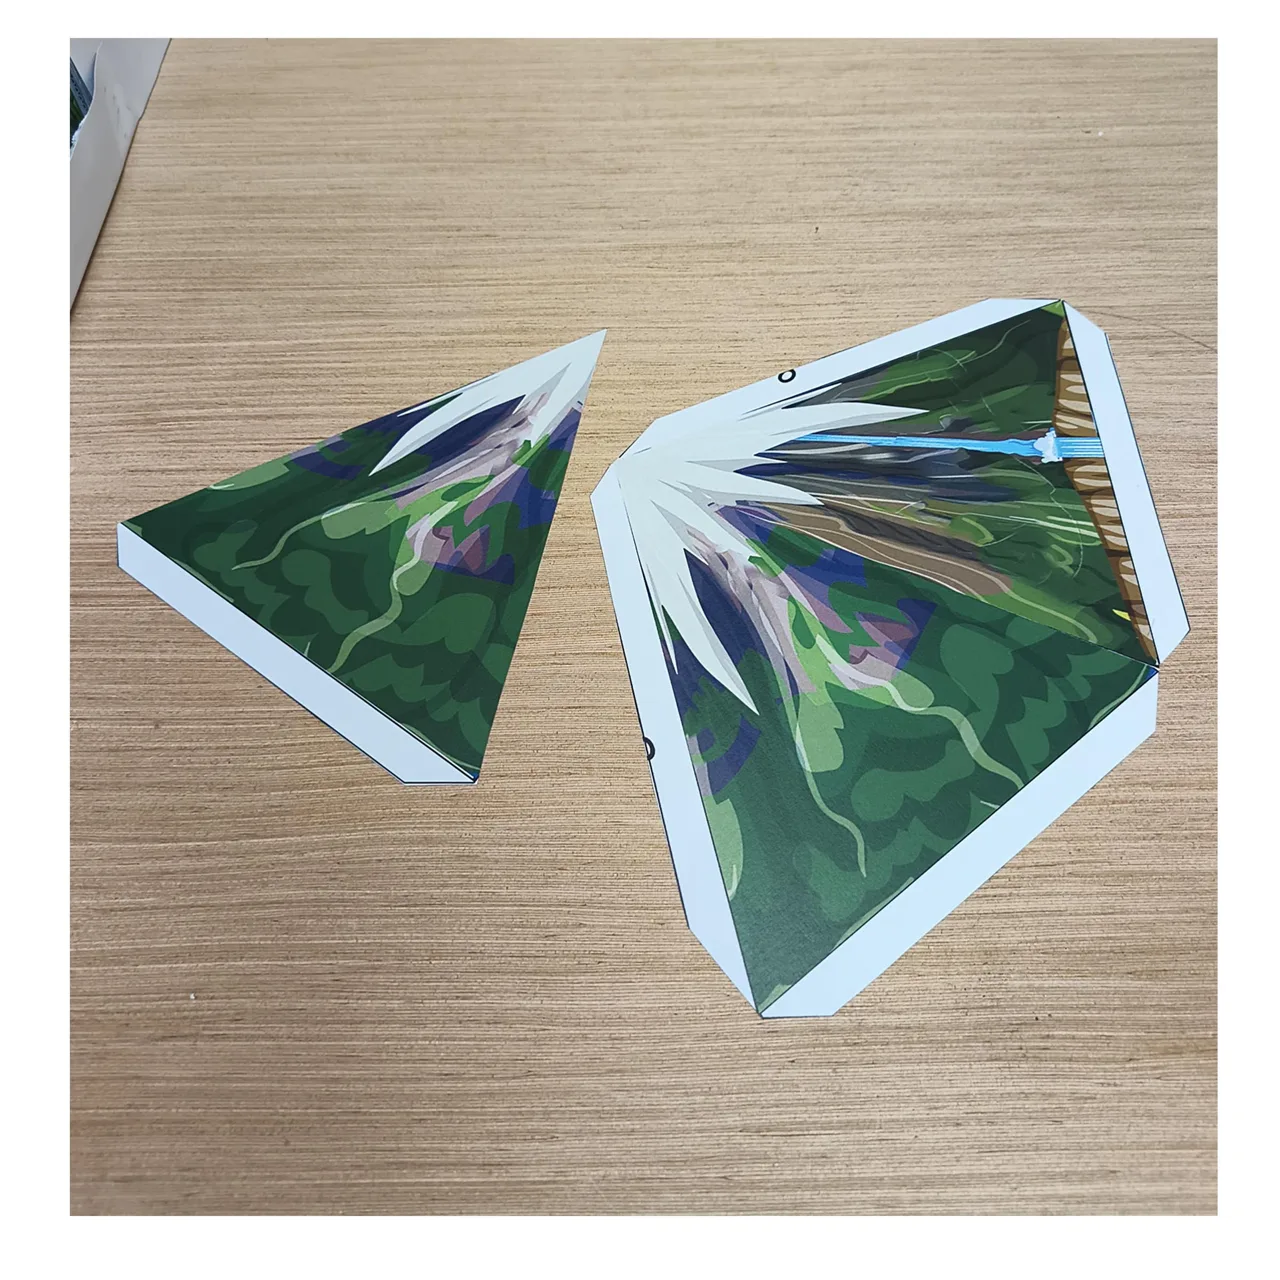
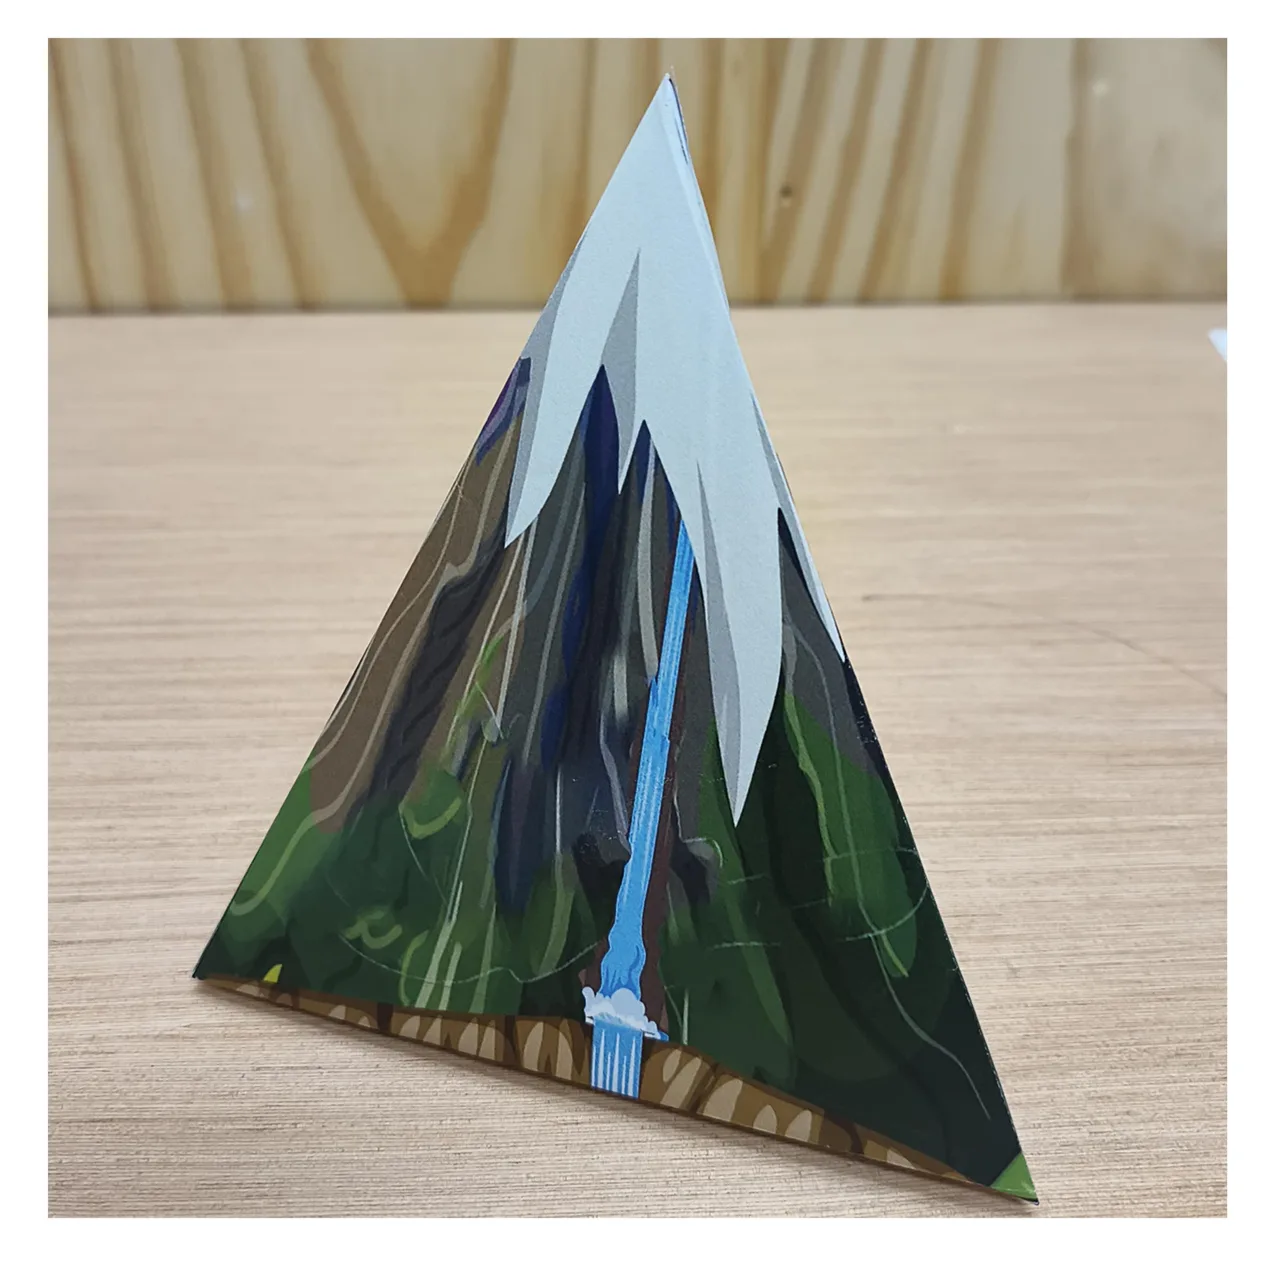
Cut out the mountain pieces without removing the white glue tabs. Fold along the edges and tabs, test how the pieces meet, then glue the tabs inside to make the mountain stand in three dimensions. Place it by the river and check the view from the front before fixing it down.
6. Decorate the outside of the box
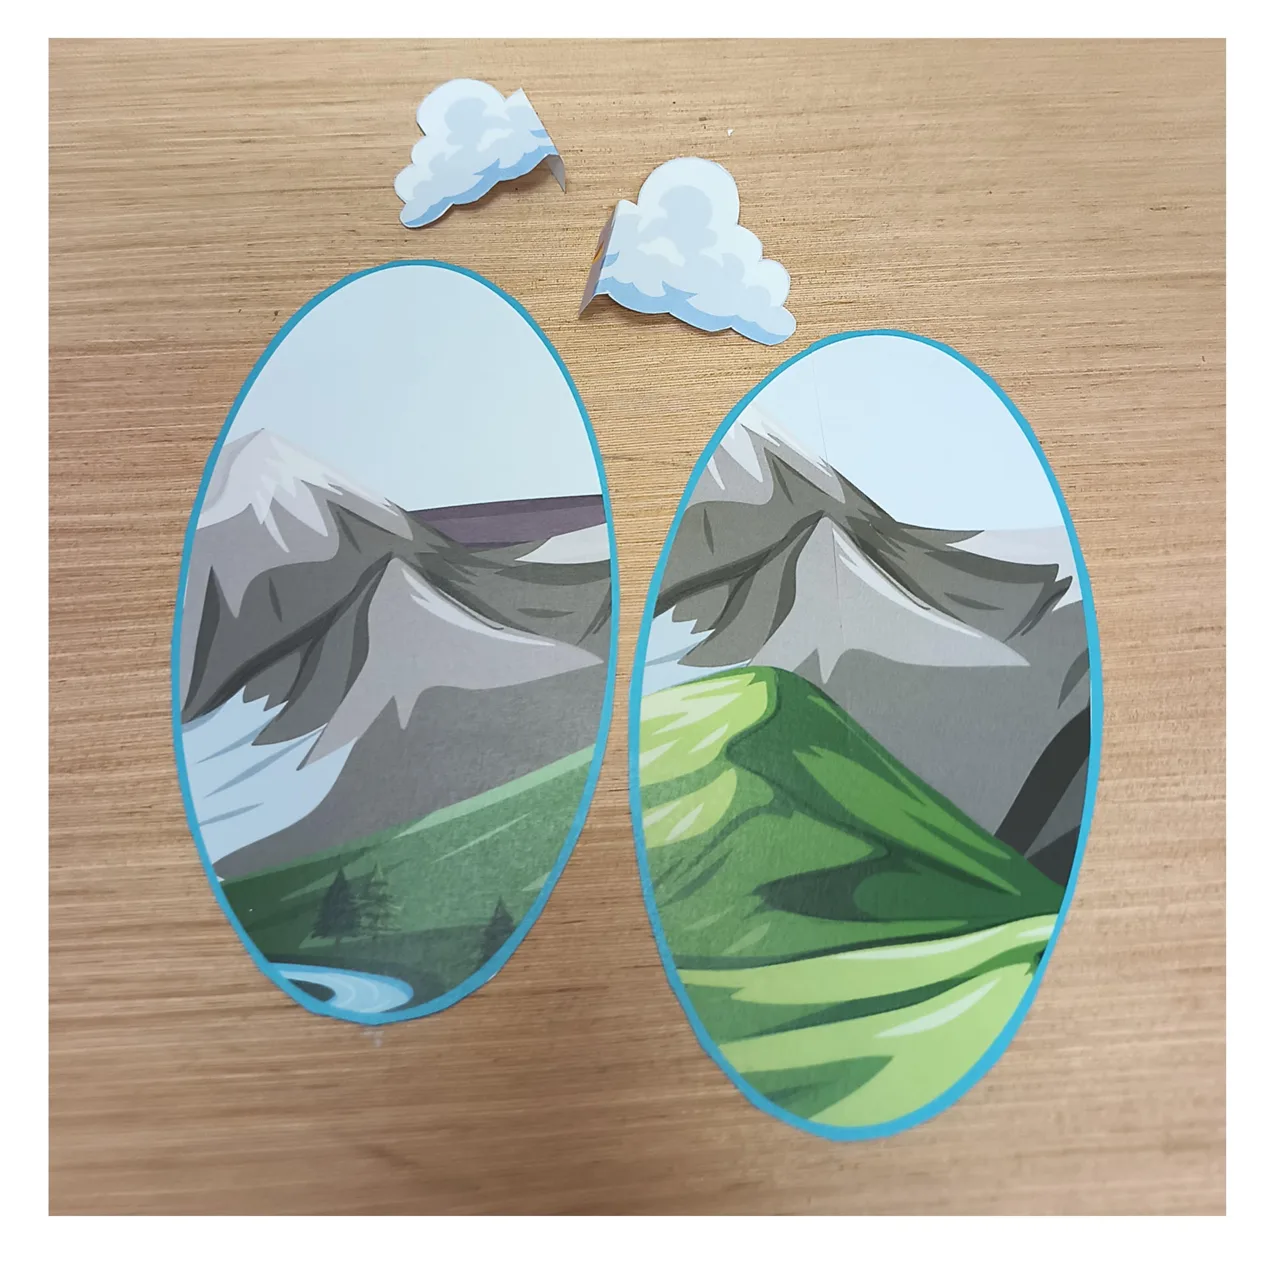
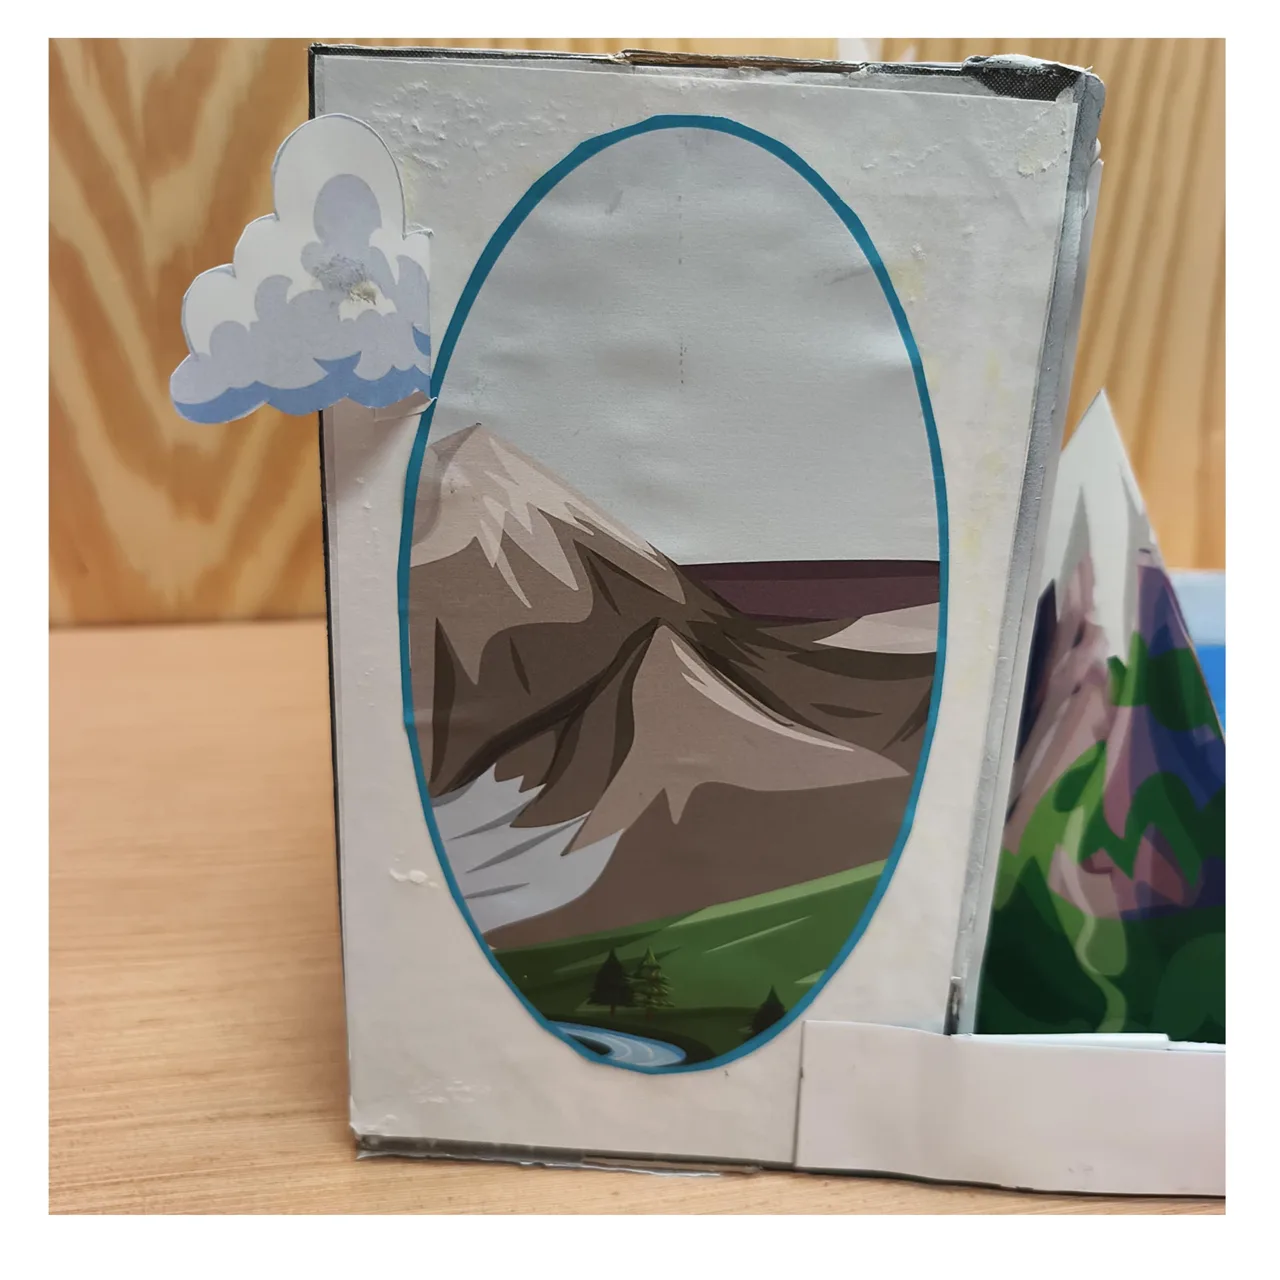
Use the separate mountain scenery and cloud cutouts to decorate the outside walls. Try their positions first so that they sit neatly around the edge of the box. These details finish the sides of your diorama as well as the front.
7. Add the sun and water-cycle arrows
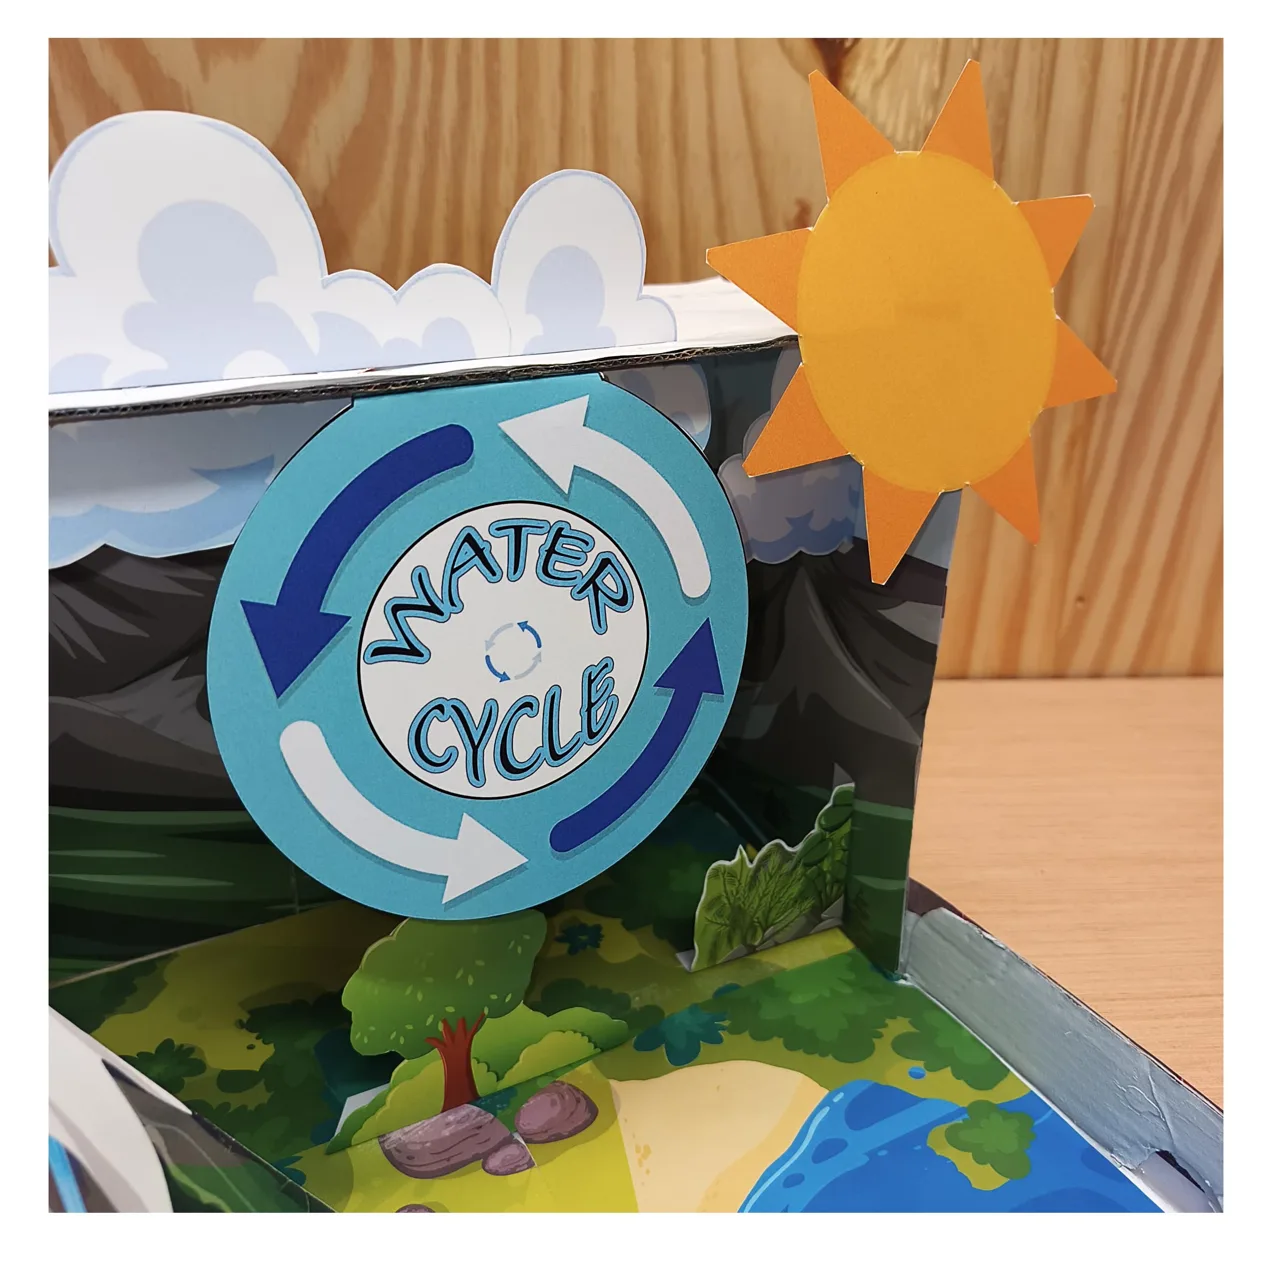
Position the sun, clouds and circular water-cycle sign so each remains visible. Use the tabs to secure the pieces. The arrows help you talk through the cycle, while the sun represents the energy that drives evaporation.
8. Hang the rain and snow strips
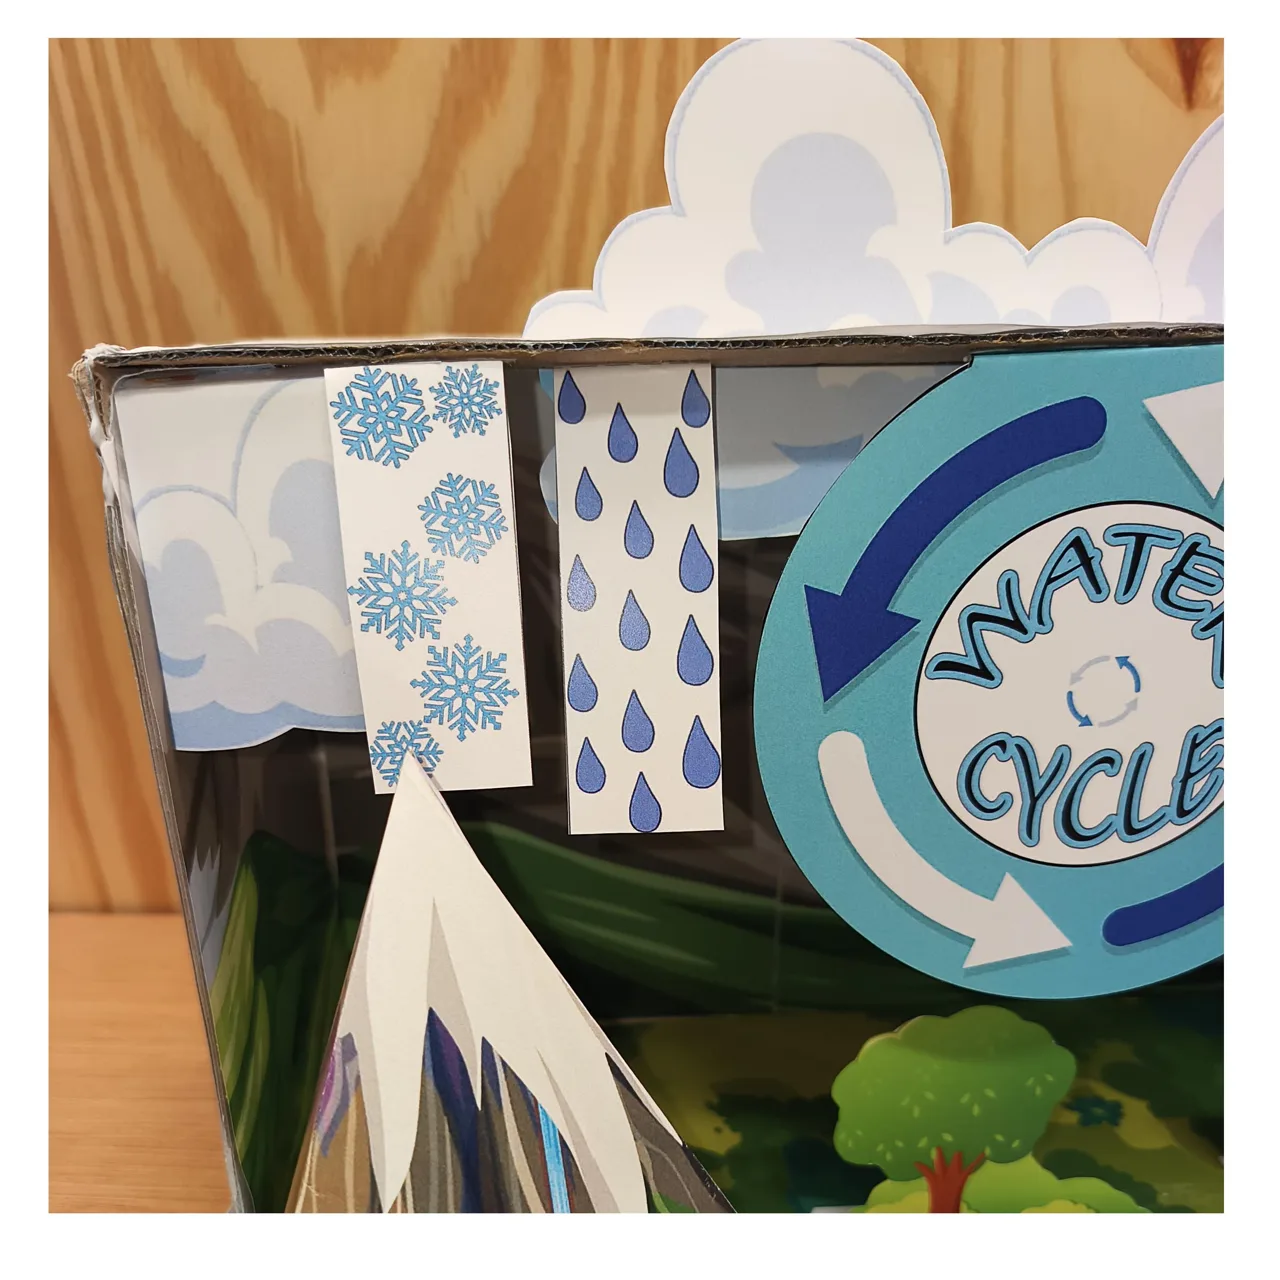
Cut out the rain and snow strips and attach their upper ends beneath the clouds. Leave the strips hanging over the mountain. They represent precipitation falling from clouds to the land below.
9. Place the English water-cycle labels
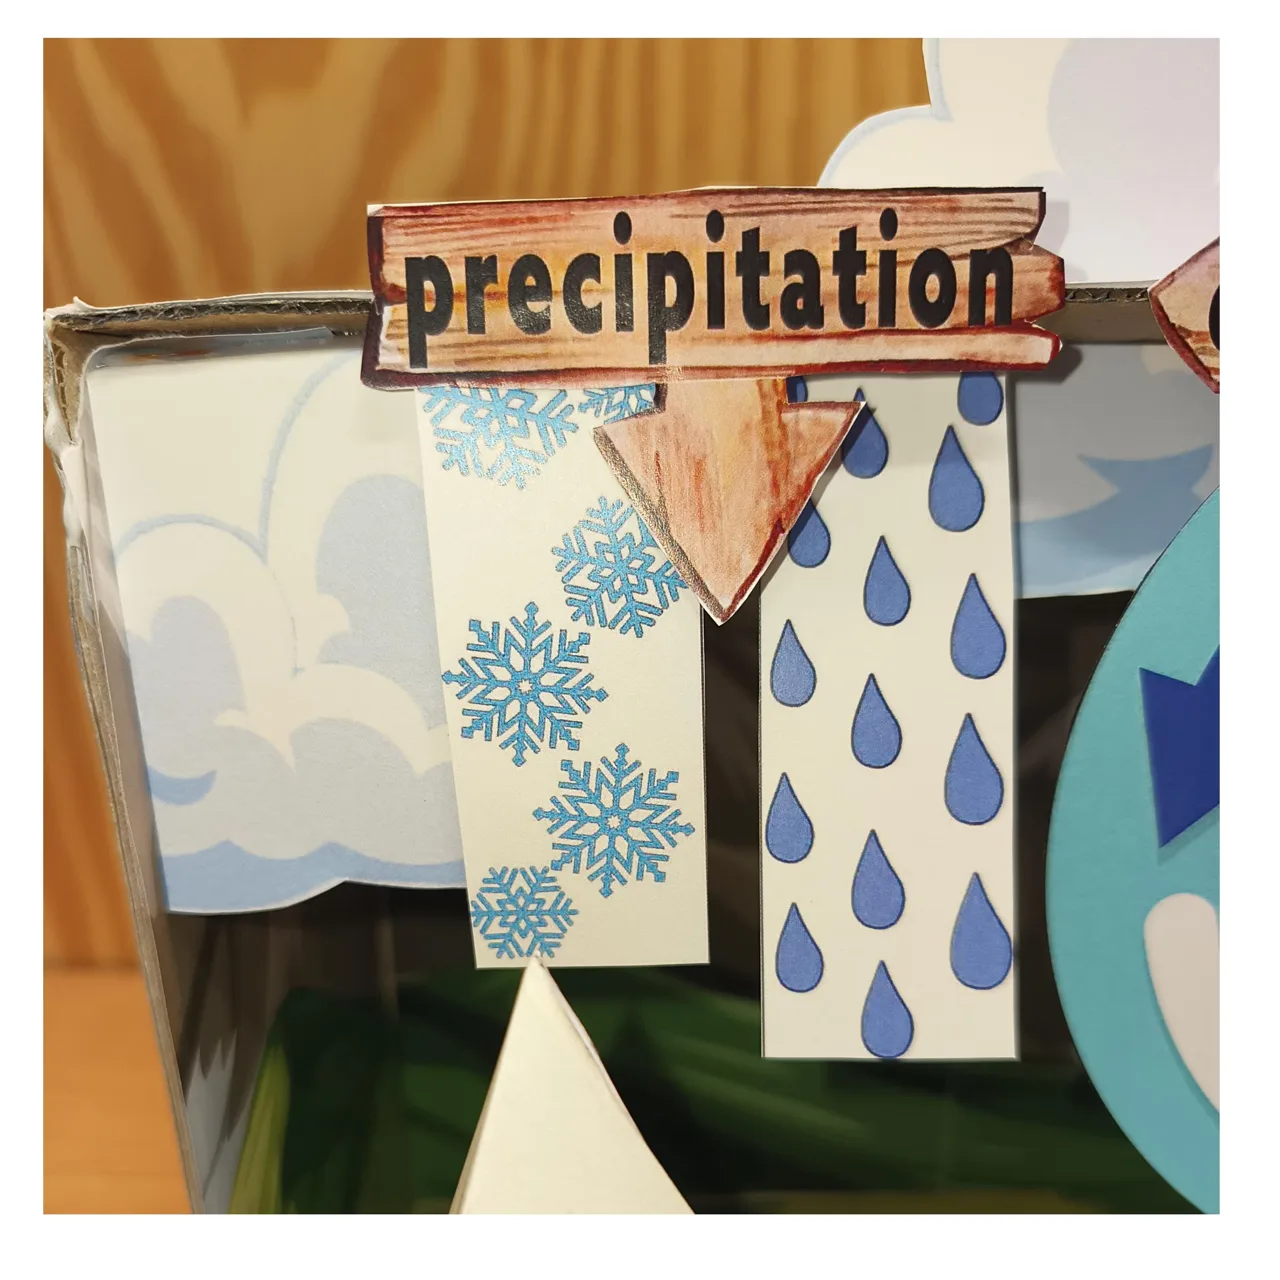
Separate the process labels and arrange them beside the features they explain. Put precipitation by the falling rain and snow, collection by the river or lake, evaporation near the water and transpiration beside the plants. Add condensation near the clouds. Check that the labels can be read from the front.
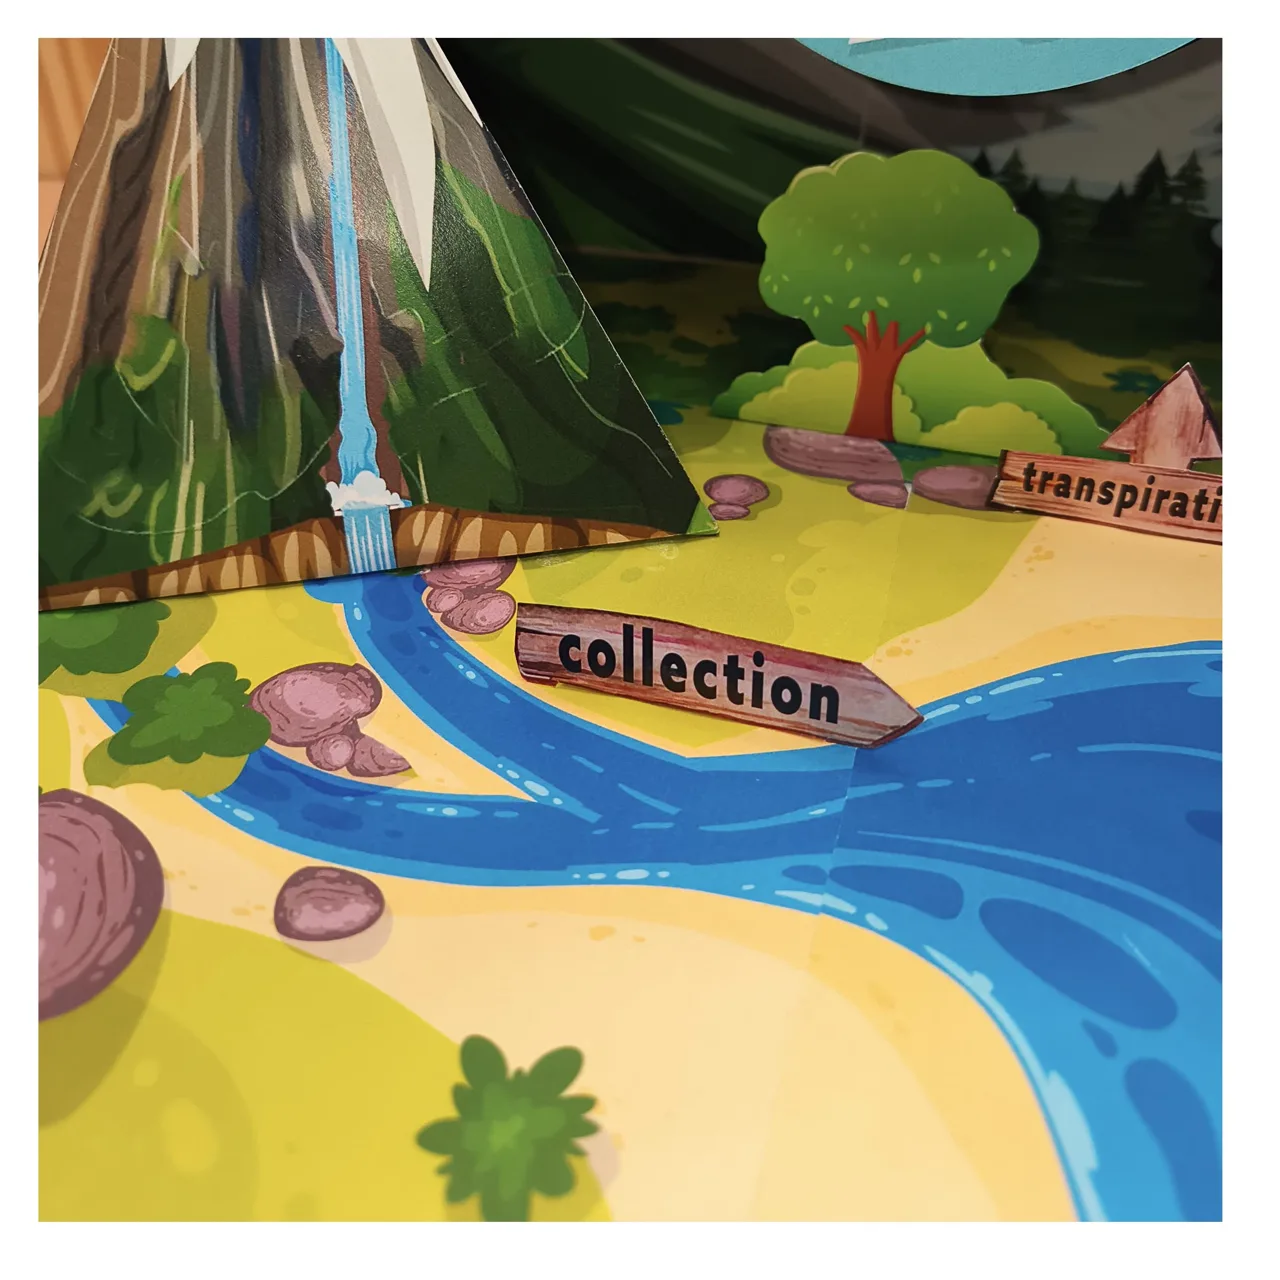
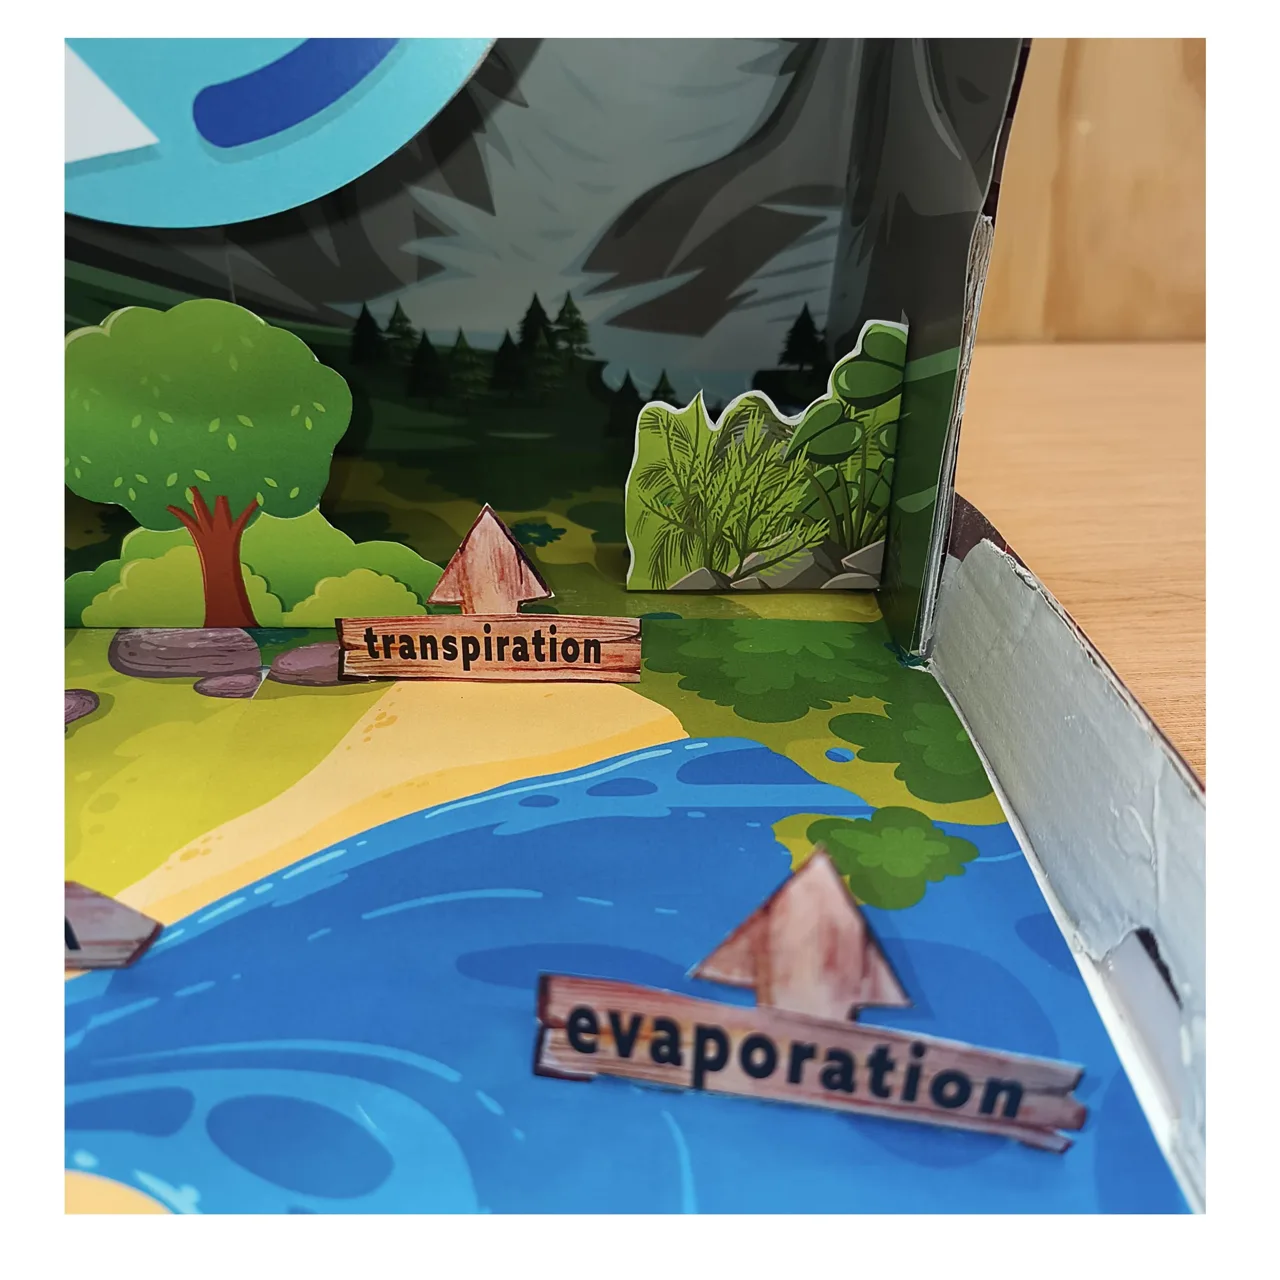
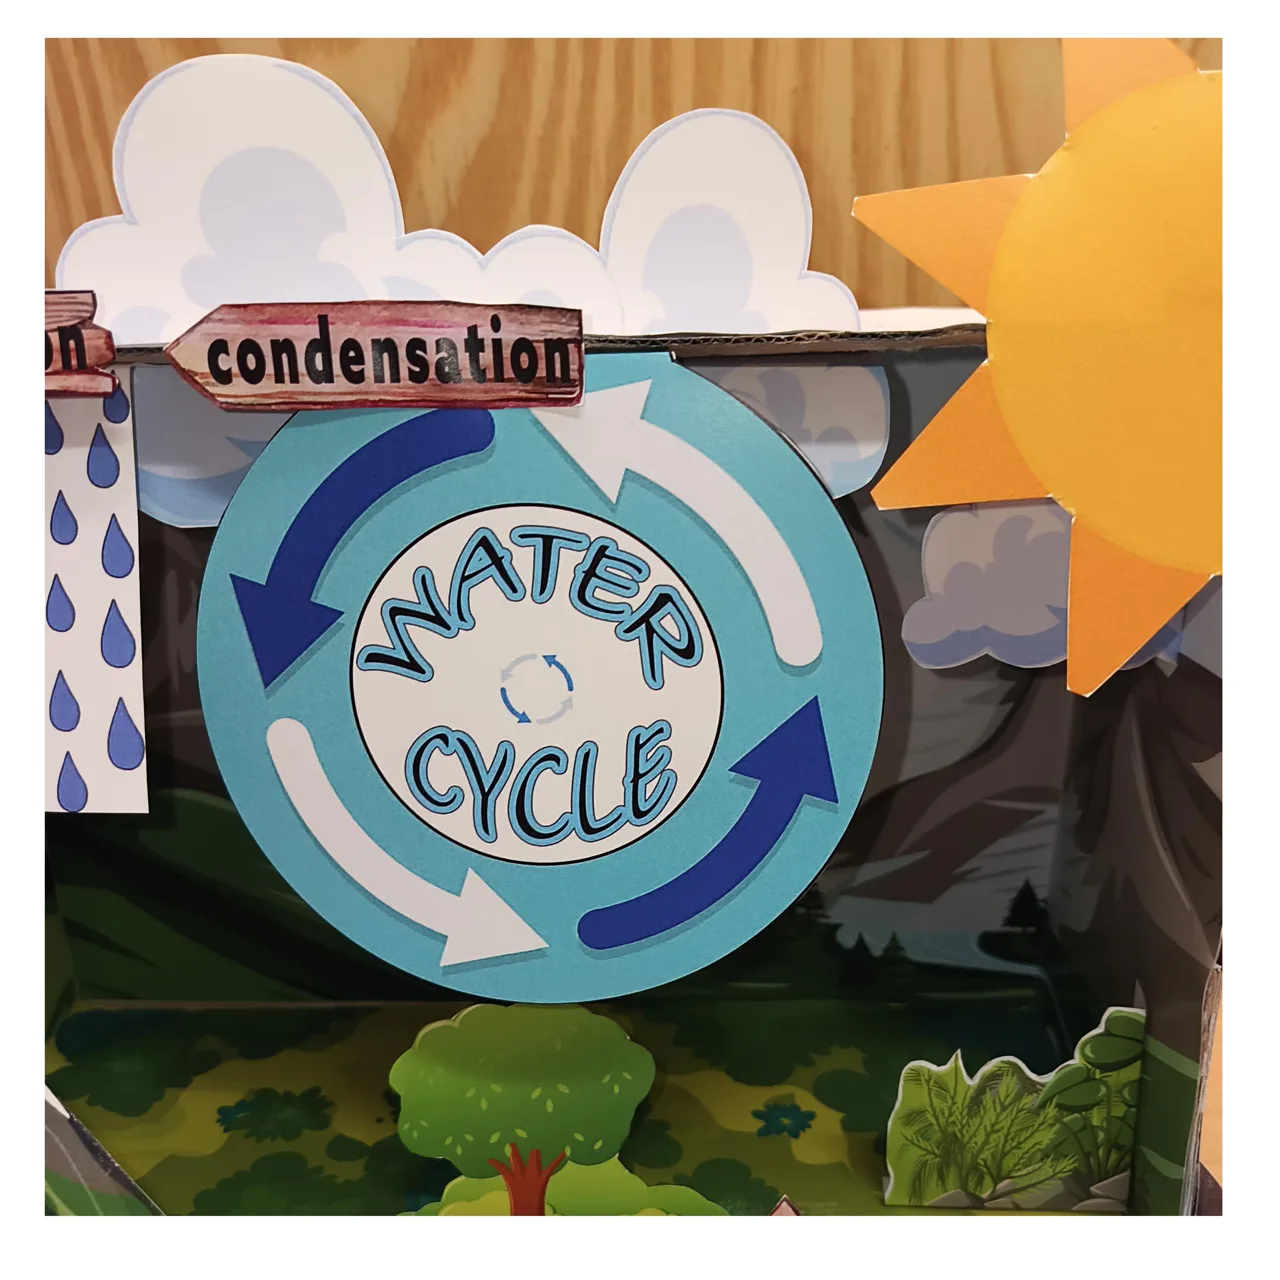
10. Check your finished 3D water cycle model
Let the glue dry, then check the model from the front and both sides. Secure any loose pieces and make sure the labels are visible. Practise explaining the stages in your own words for your science school presentation.
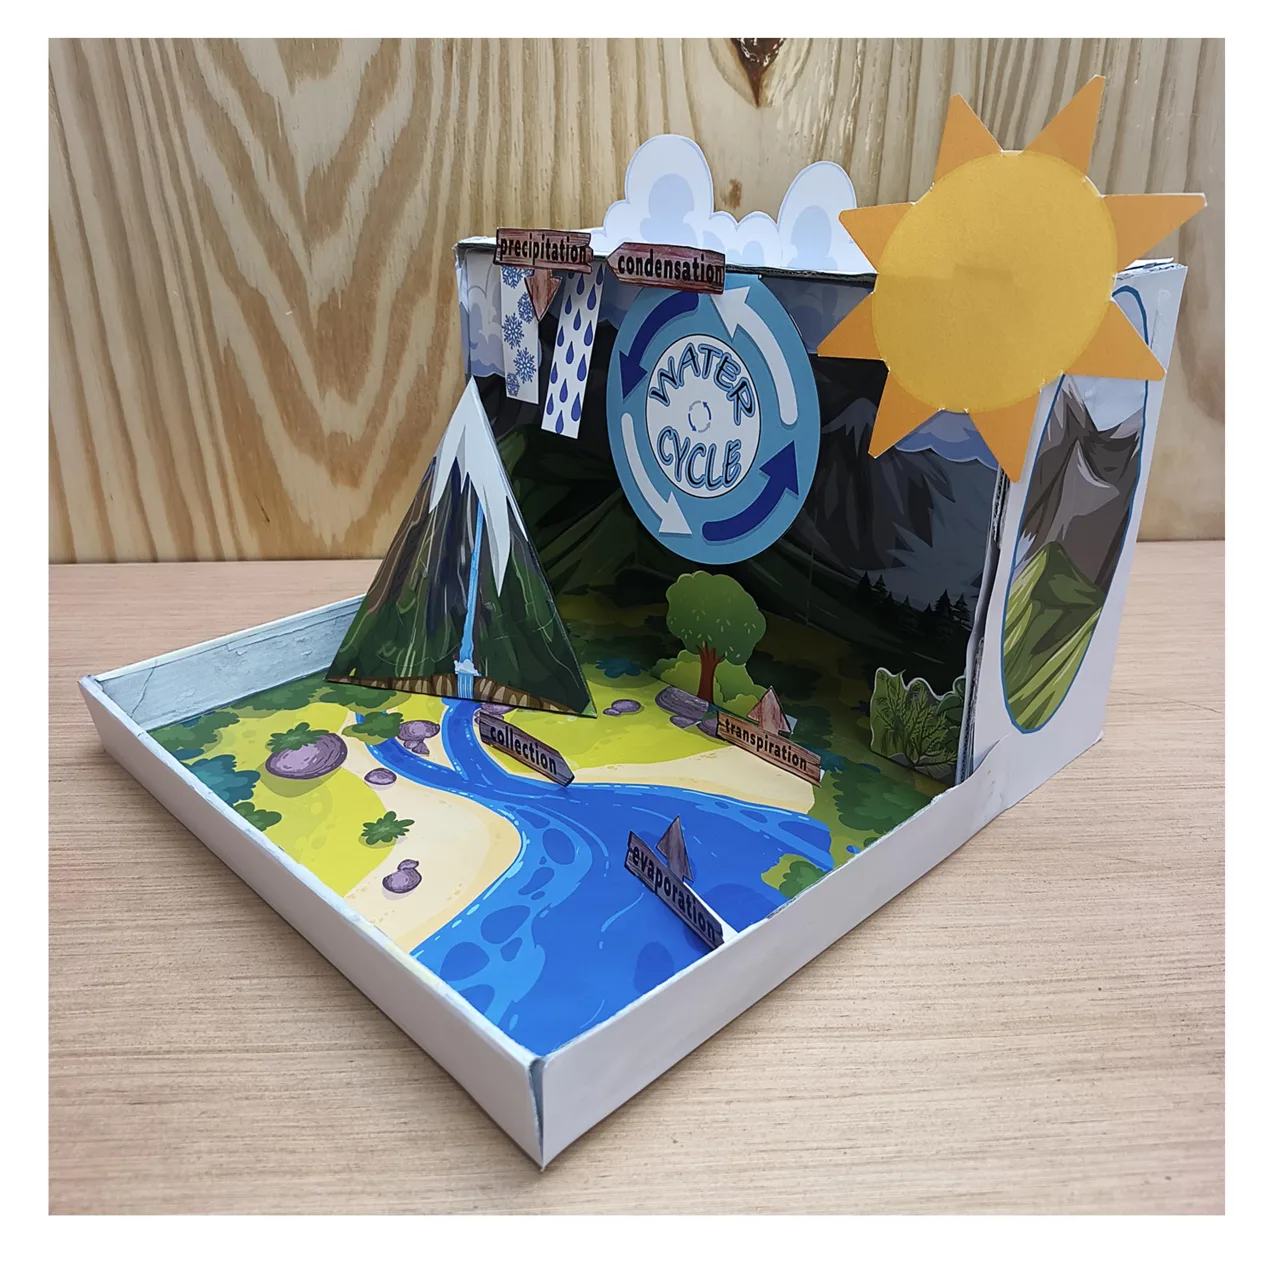
Ready to build yours?
The printable set includes the illustrated scenery and pieces used in this tutorial. See the full contents and current price on the project page.
Get the Water Cycle PDF templatesExplain the water cycle using your model
Your 3D model works like a water cycle diagram with labels. Point to each part as you explain how water moves through the environment:
- Evaporation
- Energy from the sun helps liquid water change into water vapour and enter the air.
- Condensation
- As moist air cools, water vapour can condense into tiny liquid droplets. Clouds contain droplets and, in colder conditions, ice crystals.
- Precipitation
- Water falls from clouds as rain, snow or other forms of precipitation.
- Collection
- Water gathers in rivers, lakes and oceans. Some also soaks into the ground.
- Transpiration
- Plants release water vapour through their leaves, adding moisture to the air.
A short school presentation
“My model shows the water cycle. The sun provides energy for evaporation. Water vapour cools and condenses, forming cloud droplets. Water falls as precipitation and collects in rivers, lakes and oceans. Plants also release water vapour through transpiration. Water keeps moving through this cycle.”
Questions about this water cycle craft
Is this a working water cycle model?
This is a labelled paper display model. It represents the stages visually; it does not heat water or demonstrate real evaporation and condensation.
Can I use a different-sized box?
Yes, but test the background and base against your box first. A different box may require trimming, repositioning or adjusting the print scale. Keep related pieces at the same scale.
Can I add my own craft materials?
Yes. Add details you enjoy, provided the labels remain readable and the base supports them. Keep the scientific explanation clear.
Is the printable PDF free?
The tutorial is free to read. The illustrated Water Cycle PDF is a paid digital product available on the Water Cycle project page.
More school craft ideas
For another science model, explore the volcano school project. For another nature-themed paper craft, build an ocean habitat diorama with sea animals.